

Creating a custom view
What is a custom view?
If you are familiar with relational databases then you have almost certainly encountered views, and have probably used them in certain situations where it is preferable to creating new tables within your schema. In simple terms, a view is a query on a dataset. This query is executed whenever the view is invoked, and therefore reflects changes in the table to which it refers.
A custom view provides a way to refer to a database table with an SQL statement applied, typically to filter the rows and columns. Custom view also allows you to join multiple tables.
In a custom view, the definition of the view is held within the platform rather than the database, thus it can easily be modified and copied. However, a custom view cannot be queried elsewhere in the workspace (e.g. within the R console) and so must be converted into a database view if this is required.
Create a custom view
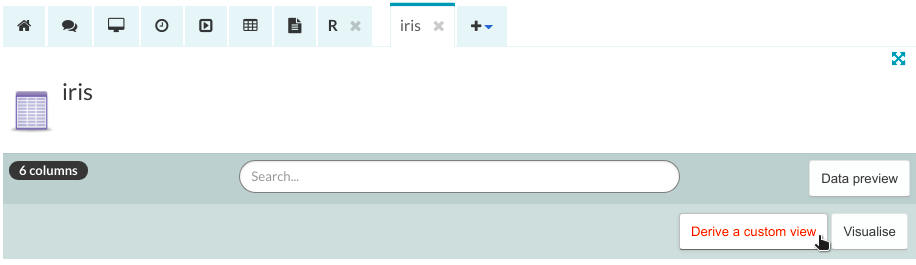
To create a custom view, open the relevant dataset and click the ‘Derive a custom view’ button.
This opens a new panel with the following parameter selection for creating a custom view:
- Filters (optional): filter the rows of data for including in the custom view. You can choose the column, operator, and value to filter by.
- Columns (optional): choose one or more columns to include in the custom view by clicking on them. The chosen columns appear in the panel in the right-hand side of the window and can be removed from there by clicking on the ‘X’ button. By default, all the columns are included in the custom view.

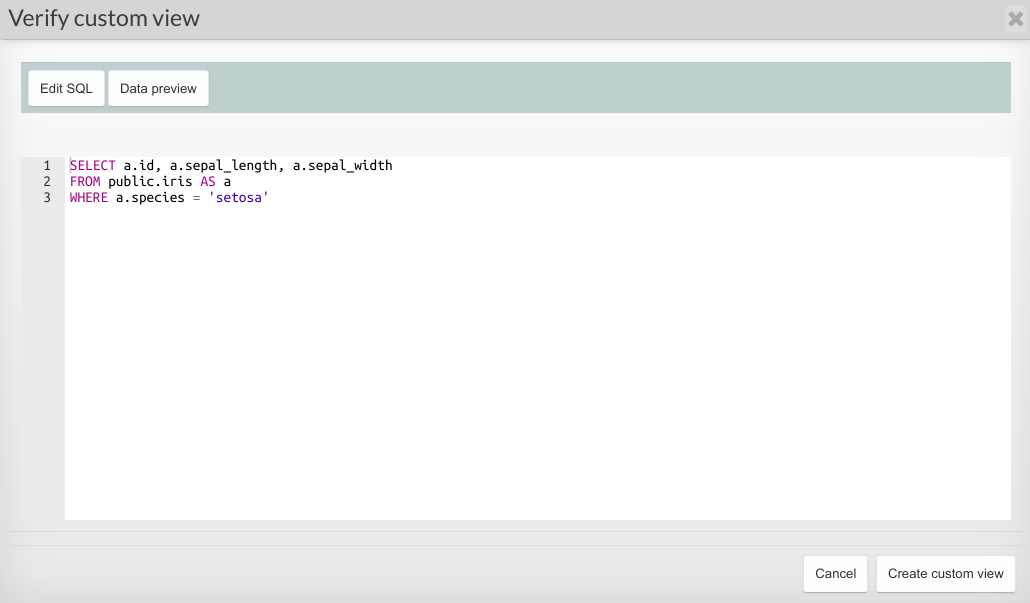
Click the ‘Verify custom view’ button. This will open up a new popup window, where you can review the SQL statement and preview the data. If required, you can manually edit the SQL statement here.
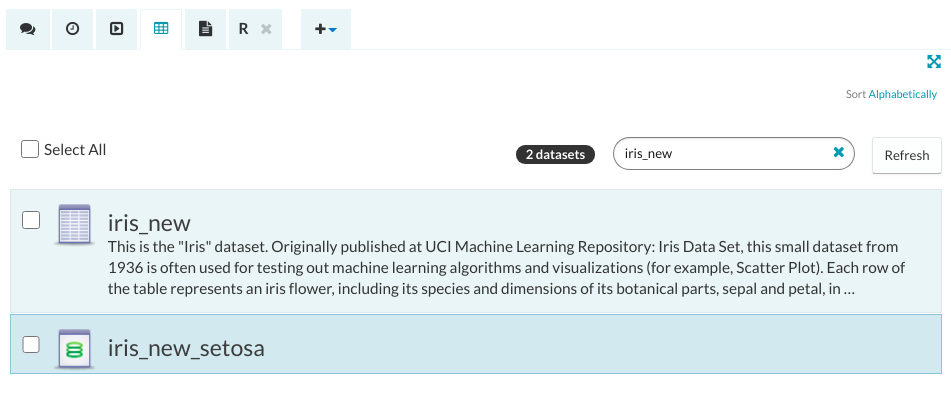
Once you are finished editing, click the ‘Create custom view’ button and provide a name e.g ‘iris_new_septosa’. A newly created custom view of the dataset will appear with a green icon in the Datasets tab.
Joining data tables using point and click SQL
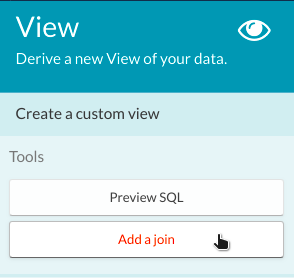
When creating a custom view, you also have the option to join multiple tables. You can do this by pressing the ‘Add a join’ button. This opens a new dialogue box with all the tables available in the workspace.
Select a dataset to join. If you want to preview the columns in it, click on ‘Preview Columns’. Next, click ‘Join table’.
In the next window, select the source and destination join columns and the type of join. You can choose from inner, left, right and outer joins.
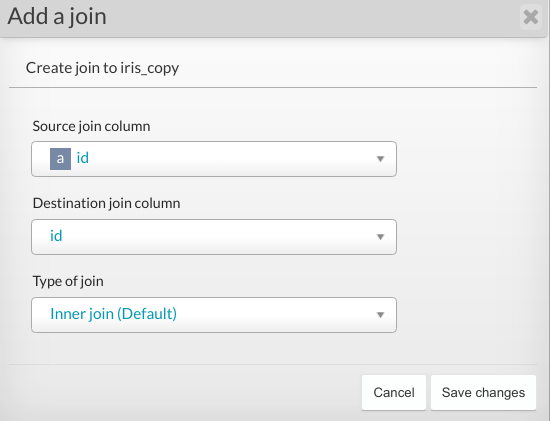
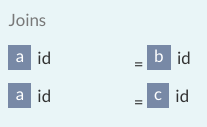
Click ‘Save changes’ and then ‘Done’. You should see a summary of how the tables are joined in the Joins panel on the View sidebar.
Once the join is created, you can do the same things just like with the regular custom view: filter data, exclude columns and so on.
Create a database view
If you want your custom view to be queryable from within the R console, you will need to convert the custom view into a database view.
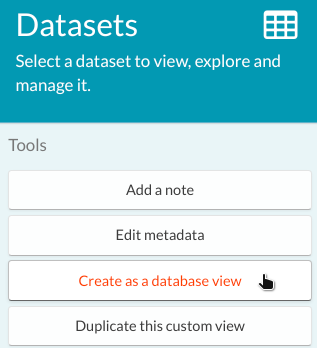
To create a database view, highlight the custom view in the Datasets tab then click the ‘Create as a database view’ button.